MW4

DMZ intel and squads for launch

--days to launch Oct 232026 release PS5, Xbox Series X|S, PC, Switch 2

DMZ intel week

Infinity Ward is releasing DMZ details across one week. We track each drop here and relay it on Discord as it lands.

  1. Oct 4Worldbuilder trailer
  2. Oct 5From the Ward, plus the Hajin deep dive
  3. Oct 6 to 8Gameplay breakdowns: Dynamic Ops, Progression, Bounties and Story Missions
  4. Oct 9Final intel

Dates come from the official schedule. Drops usually go out on US time, so in Australia they often show up a day later.

How DMZ works

DMZ is Call of Duty's extraction mode. You deploy into Hajin alone or with a squad, loot, complete objectives, fight the enemy and other players, then get out with what you can carry. These are the rules that matter on your first drop.

Radiation storm

A timer shows when radiation intensifies across Hajin. Locate an exfil before it hits.

Marked for Death

A kill counter tracks the enemies you've taken down. Fill it and a hunt squad is sent after you.

Exfil

Exfil sites are marked by green smoke. Call the Twin Heli and hold the site until it arrives. A Fulton balloon or a flare also works, but flares are loud and other squads may be waiting.

Threat levels

Every location has a threat level, shown under your compass. Loud fighting raises it and brings reinforcements. Breaking contact and taking cover brings it back down.

Comms

Proximity chat reaches nearby Operators. The Ping Wheel lets you request a truce or give silent commands.

Map grid

Letters run west to east and numbers north to south. D7 is Imjin Farmland. Keys you find list a grid location too.

After action report

Each deployment is graded from F to S++ on objectives, combat and looting. Aim for a balanced run rather than only looting.

Progression

DMZ has its own player level, from 1 to 70, with unlocks at every level. Your base outside the match (the FOB) grows as you play.

Hajin: where to drop

The 13 major locations in the exclusion zone, with the official threat level for each area. Hajin has more than 60 named locations in total, so expect surprises between these.

Threat runs Low, Medium, High, Critical, Extreme. Amber bars mean Critical or Extreme.

14th Political Prison

Northwest Hajin. Formerly North Korean territory.

A walled prison on a cleared plateau. Inside, the Y-shaped Citadel is a maze of walkways, cell blocks and a furnace room where it's easy to get cut off.

  • PrisonHigh
  • Prison YardHigh
  • The CitadelCritical

Chang-san Air Base

West Hajin. Formerly North Korean territory.

Built into a granite hillside with a bunker complex underneath that's bigger than the base above it. Getting in without being spotted takes patience.

  • Air Base ExteriorCritical
  • Air Base BunkerExtreme

Deadtown

Southwest Hajin. Formerly North Korean territory.

An emptied farming town taken over by the military. Street-to-street fighting against lightly armoured enemies, with two Re-Education Centers where the pressure builds.

  • TownLow
  • Re-Education CenterMedium

Imjin Farmland

South-southwest Hajin. Formerly South Korean territory.

Open rice fields and waterways around a huge mill. Flat ground and long sightlines, so manage your exposure and watch for vehicles.

  • FarmlandLow
  • Jeong Loading DockLow
  • Rice MillMedium

Cheongun Village

Northern Hajin. Formerly South Korean territory.

A border village split by crossings to Russia. The Heavenly Luck Casino dominates it and is very dark inside, so night vision helps.

  • VillageLow
  • Russian Border CrossingLow
  • OutskirtsLow
  • Russian BorderLow
  • Heavenly Luck CasinoHigh

Mirae General Hospital

North central Hajin. Formerly South Korean territory.

The main hospital for Hajin, next to a train station. Close-quarters fighting through the wards, and snipers can be waiting in the wooded hills to the south.

  • HospitalLow

Cheonwang Peak Array

Central Hajin. Formerly South Korean territory.

A TV and telecoms array on a summit, now a barracks for the enemy. The roof has a helipad and long-range views.

  • ArrayMedium

Haneul Nuclear Reactor

Northeast Hajin. Formerly South Korean territory.

Severe radiation across the whole area. A gas mask and radiation gear are essential. Reactor 02 is breached, Reactor 01 is stable for now.

  • Reactor (with radiation)High
  • South Korean Border ZoneMedium

NuriGO Mall

Northeast Hajin City. Formerly South Korean territory.

A shopping district with a huge underground mall that has no power. Bring night vision. There's a monorail station and a police station above ground.

  • NuriGO EastMedium
  • NuriGO WestHigh

The Grid

Central Hajin City. Formerly South Korean territory.

A walled-off block of the city centre with heavy resistance, rooftop fights and very few ways out. This is the most dangerous district on the map.

  • The GridCritical
  • Nenshin Tech ComplexExtreme
  • DBN HeadquartersCritical
  • Hanex BankCritical
  • Minsok Art SchoolCritical
  • Construction ZoneCritical

Songdo Wharf

Eastern Hajin City. Formerly South Korean territory.

A waterfront with a pier, lighthouse, market, and working train and monorail lines. A calmer place to get your bearings.

  • Songdo WharfLow
  • Oamsik Turtle IslandLow
  • Shoreline StationLow

Wolves Stadium

South central Hajin City. Formerly South Korean territory.

A ruined baseball stadium and open-air theatre. The northern edge facing The Grid is the dangerous side.

  • Wolves StadiumMedium
  • TheatreMedium

Hajin River Heights

Southeast Hajin. Formerly South Korean territory.

Apartment blocks that took the brunt of the invasion, with a military base (Compound Echo) set up in one building.

  • River HeightsMedium
  • South IslandMedium
  • Jinseo Park TowersMedium

Bosses, enemies and rides

Who's trying to stop you, and what you can drive away in.

Enemy forces

Hajin is held by a secretive North Korean faction. Enemies range from basic grunts to faceless armoured soldiers, plus drone swarms, an LMG drone, robotic K9 quadrupeds (usually underground), helicopter patrols and road convoys.

  • Tier 1: grunts
  • Tier 2: armoured soldiers
  • Tier 3: armoured, gas-masked soldiers
  • Tier 4: faceless armoured soldiers

Lieutenants are mini-bosses. Kill one for XP, cash and a chance at a key to their loot room. Take their Dog Tag Case and it shows on every Operator's map, and picking it up broadcasts your position, so plan a fast exfil.

Commanders roam the zone and shrug off a lot of standard weapons. The known ones are Colossus, Deathstalker and the main NK battle tank. They drop strong loot and prized 3D Printer ingredients.

Vehicles

Ground: Camper, Sedan, Grizzly, Dreadnought, Polaris Dagor A1, LTV (with an optional mounted .50 cal), Cargo Truck and the D50 Radar Flatbed. Water: RHIB. Air: Heli and a rarely player-flown Heavy Chopper.

Vehicles need repairs and fuel in DMZ, and gas stations handle both. A train and a tram run on their own routes around the map, but you can't drive them.

Side activities

Dynamic Ops give each deployment an objective and end with a supply drop that improves with every Op you finish. Side Ops are smaller jobs: recover lost supply drops, capture SAM sites, or climb radio towers to find a nearby Lieutenant. Watch out for the Hunt Operators Op, which sends a full squad of rival players your way.

Find your squad

DMZ is better with people you can trust, or at least people you can predict. Join the PLGS Discord to find a squad before launch, swap tips with MW2 DMZ veterans, and get each intel drop as it lands.

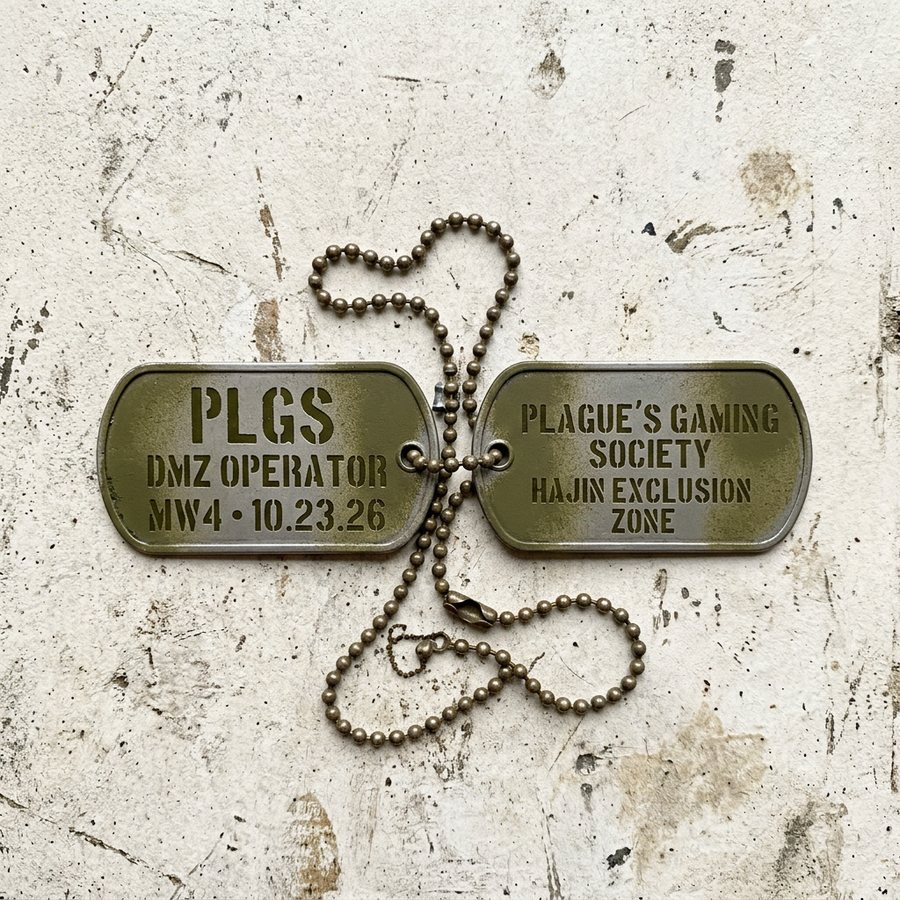
Military dog tags stamped PLGS, DMZ Operator, MW4 10.23.26